Thank You Page Donation
Thank You Page Donation lets customers donate to a cause on the thank you page by selecting a donation amount. You select a Shopify product set up as a donation product, then choose which of its variants are shown as the donation amounts. The customer picks an amount and a new separate order is created for it.
How to set up
Section titled “How to set up”- Go to Thank You Page Upsell and click Create.
- Select Donation as the type.
- Configure display settings (see below).
- Click Save.
- In the Shopify checkout editor, add the Donation block to the thank you page.
Display settings
Section titled “Display settings”| Setting | Description |
|---|---|
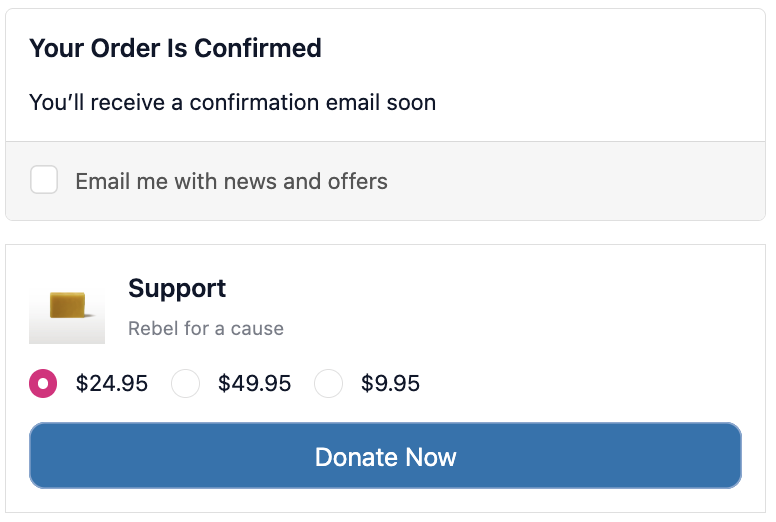
| Title | Heading shown above the donation block (e.g. “Support”) |
| Description | Optional text shown below the title |
| Donation product | The Shopify product used for the donation |
| Select donation amounts (variants) | The product variants customers can choose from as donation amounts |
- Donations are collected as a new separate Shopify order for the selected amount.
- The app does not transfer funds to any charity. You are responsible for distributing collected amounts.
- Works on thank you page.
How donations are handled
Section titled “How donations are handled”The app creates a new Shopify order for the selected donation variant. You are responsible for distributing collected amounts to your cause.